


Want to run PHP on an Android phone or tablet? This complete guide explains the safest way...
Want your home to feel cleaner, calmer, and more organized without spending your entire weekend scrubbing, sorting,...
Cut tulips are beautiful, charming, and just dramatic enough to keep life interesting. The secret to making...
Two American explorers say they have identified the wreck of the Nossa Senhora do Cabo, a Portuguese...
Suede gloves look elegant, feel luxurious, and panic easily around water, oil, and winter salt. This complete...

Quitting smoking is not about having superhuman willpower. It is about using the right plan, tools, and...

Fractions can look confusing at first, but they become much easier when you understand the whole, the...

Why do people reveal deeply personal truths online that they would never say face-to-face? This in-depth article...
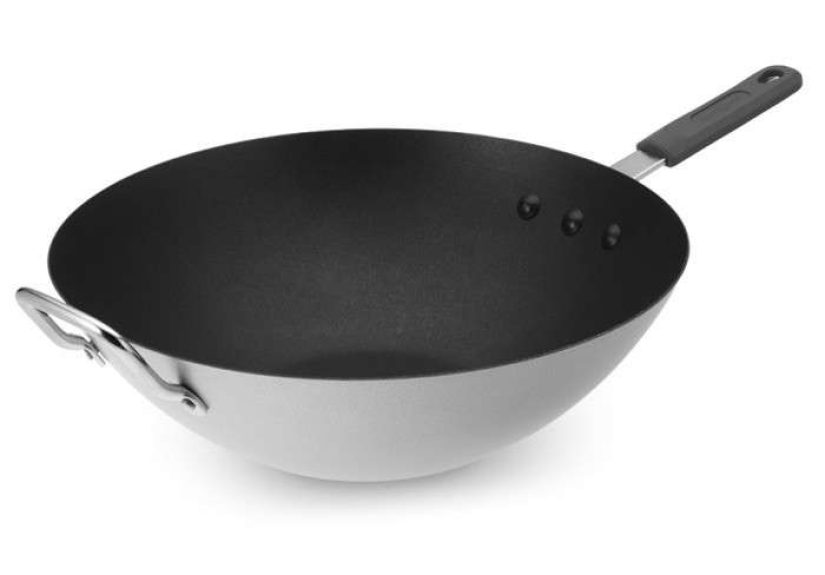
The Nordic Ware 14-in. Asian Wok is a roomy, flat-bottom nonstick wok designed for real home kitchens....

Your last meal is not just about tasteit is a flavorful clue to your memories, values, culture,...